 Earlier in the summer I was lucky enough to be staying in South West Scotland for a couple of days, with enough time to visit a the Sanquhar Tolbooth museum and see the collection of traditional Sanquhar knitting.
 I spent a happy hour wandering around taking notes and photos, with the help of a really friendly guide.
 There are some fantastically skilled pieces in there, as well as an impressive cross stitch piece worked by women in the Sanquhar community.
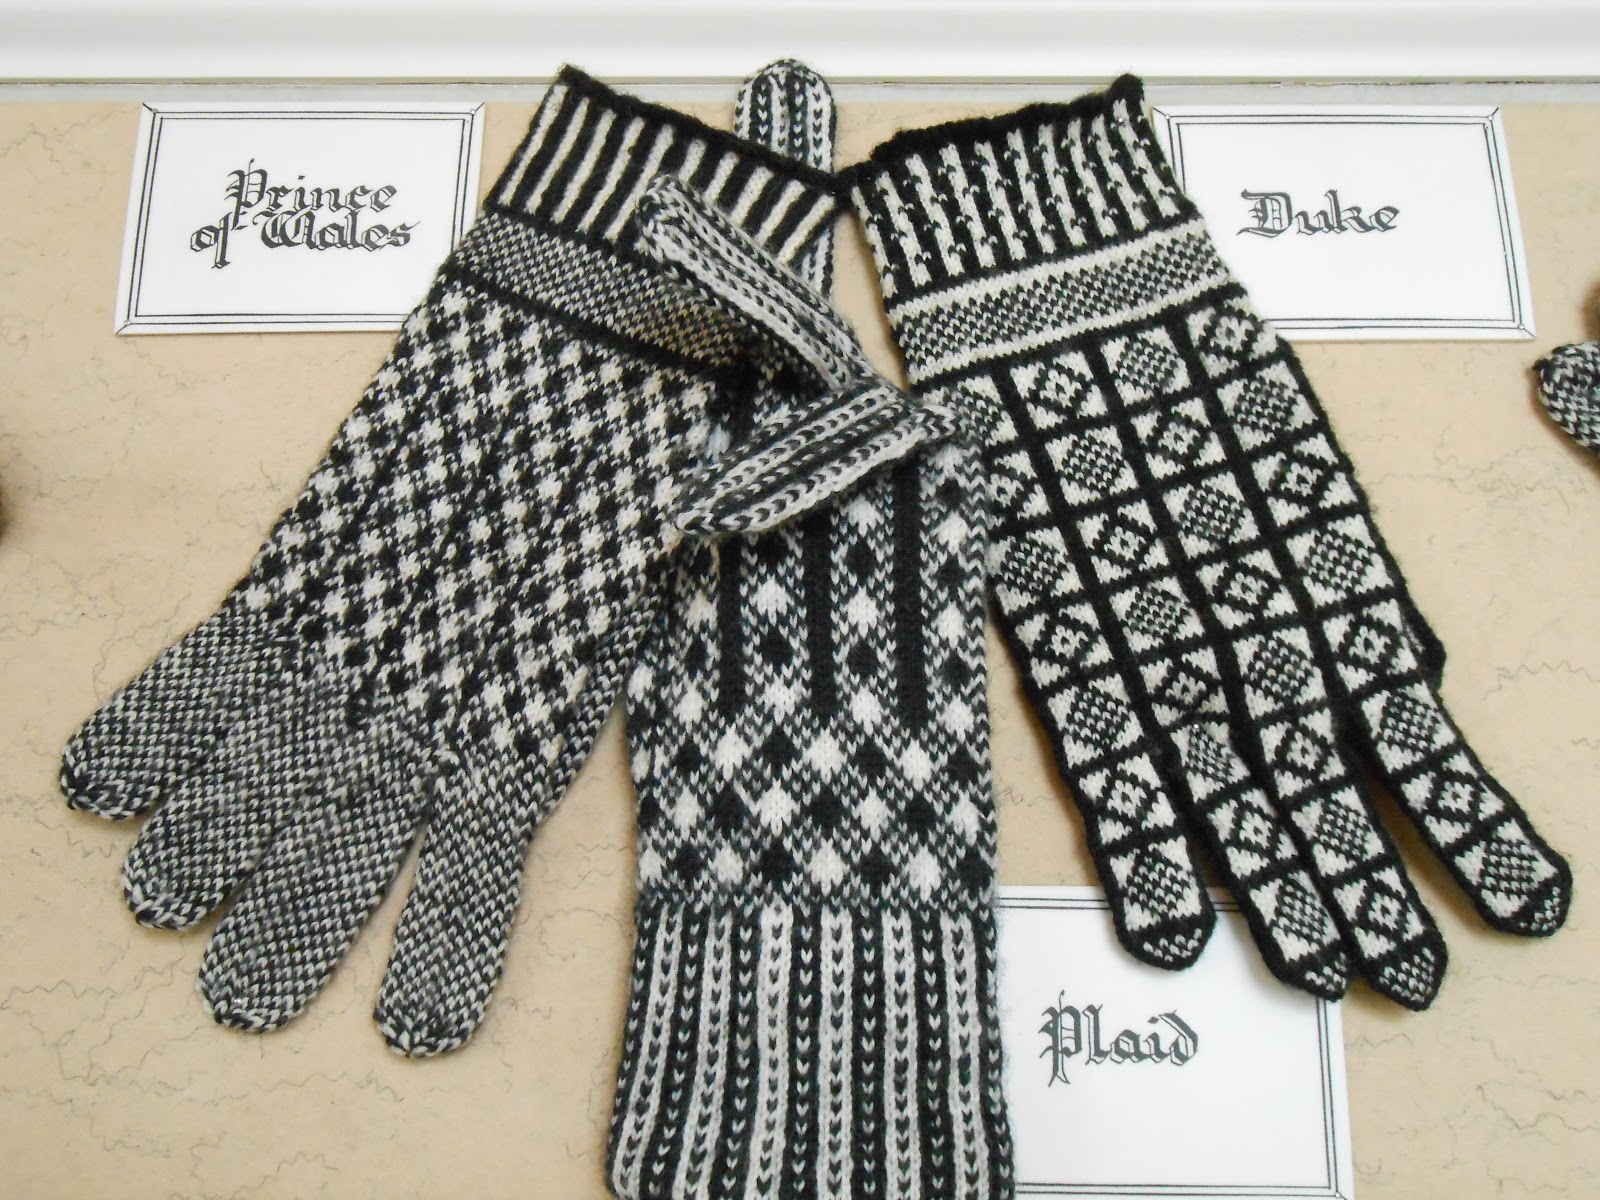
 All the gloves are worked on tiny double pointed needles, making the patterns look incredibly intricate. But as the cross stitch samples show below, they are all in fact simple repeating patterns, with no more than 5 stitches of any one colour at a time, making it simple to knit by stranding the spare colour behind.
The picture left is actually taken from the museum website
http://www.dumfriesmuseum.demon.co.uk/sanqtoll.html
as my own photo showed too much reflection from the glass.
Also taken from the website is this beautiful sampler of many of the known stitches:

Once I'd come out of the museum I found a lovely cafe and gift shop alongside, selling knitted goods with the Sanquhar patterns, knitting kits and some lovely artwork.
http://www.all-the-airts.com/
The window display was impressive, as it boasted a knitted QR code in the Sanquhar tradtion. Unfortunately I haven't got a reader on my phone yet so I couldn't see if it worked!

Having had a quick google on knitted QR codes I might give this a go - the current module of my design course includes patterns and fairisle tradition, so it would be fun to play around with different effects.
Shorter term, however, I was taken with the idea of developing my Sanquhar inspiration into something Christmassy for CalKnits. I'd never knitted a complete sphere before, but decided to have a go at Christmas baubles, given that I could use the traditional method of knitting in the round on DPNs. I also liked the idea of keeping sewing up to a minimum, by starting off with only a few stitches to keep the bottom closed, increasing rapidly, then decreasing again, pausing to add the stuffing before the top opening got too small.
.jpg)
I've had great fun making these baubles, they're really quick and quite straightforward once you've got the hang of it. These are in traditional colours - New Lanark's lovely soft "Natural Black" and "Ecru", and "Cherry" combined with the dark subtle green yarn "Forest". I will be selling knitting kits in these colours, as well as in Cherry and Ecru, and Forest and Ecru. The packs are available to pre-order now on the website http://www.calknits.co.uk/ , and will be posted out from next week. Each knitting kit, as always, contains everything you need to make 8 Christmas baubles, including DPNs, yarn, stuffing and sewing up needle (only needed to sew the two ends in!)


No comments:
Post a Comment